This page contains affiliate links. If you purchase through them we may earn a small commission at no extra cost to you. Learn more
Wild Camping Photography Guide — Capturing the UK Outdoors
Wild Camping Photography Guide
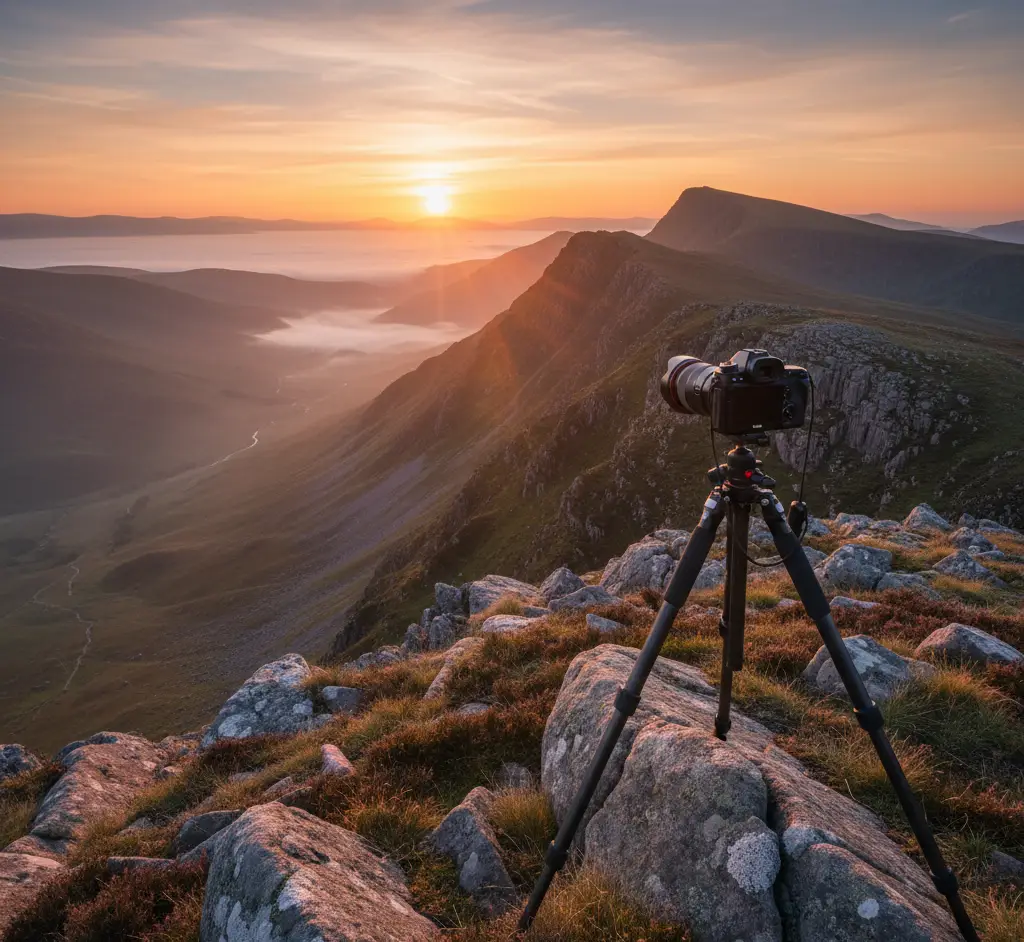
Wild camping puts you in places that most photographers never reach — on a mountain at sunrise, beside a loch at sunset, under a sky full of stars with no light pollution. The photography opportunities are extraordinary, and you don't need a bagful of expensive kit to capture them.
Why Wild Camping Photography Is Special
Two things set wild camping photography apart:
-
You're there for golden hour. The best landscape light happens in the 30 minutes around sunrise and sunset. Day visitors miss this — they're driving home or haven't arrived yet. Wild campers are already in position.
-
You're there at night. Star photography, the Milky Way, light trails — these require darkness and time. Wild camping gives you both.
Phone Photography
Modern phone cameras are remarkably capable. For most camping photography, your phone is enough:
Tips for Better Phone Photos
- Clean the lens — it lives in your pocket. A smudgy lens ruins every shot.
- Use the grid — turn on the rule of thirds grid in your camera settings.
- Tap to focus and expose — don't just point and shoot. Tap the sky to darken the foreground for dramatic sunset shots.
- Shoot in the golden hours — early morning and late evening light transforms ordinary scenes.
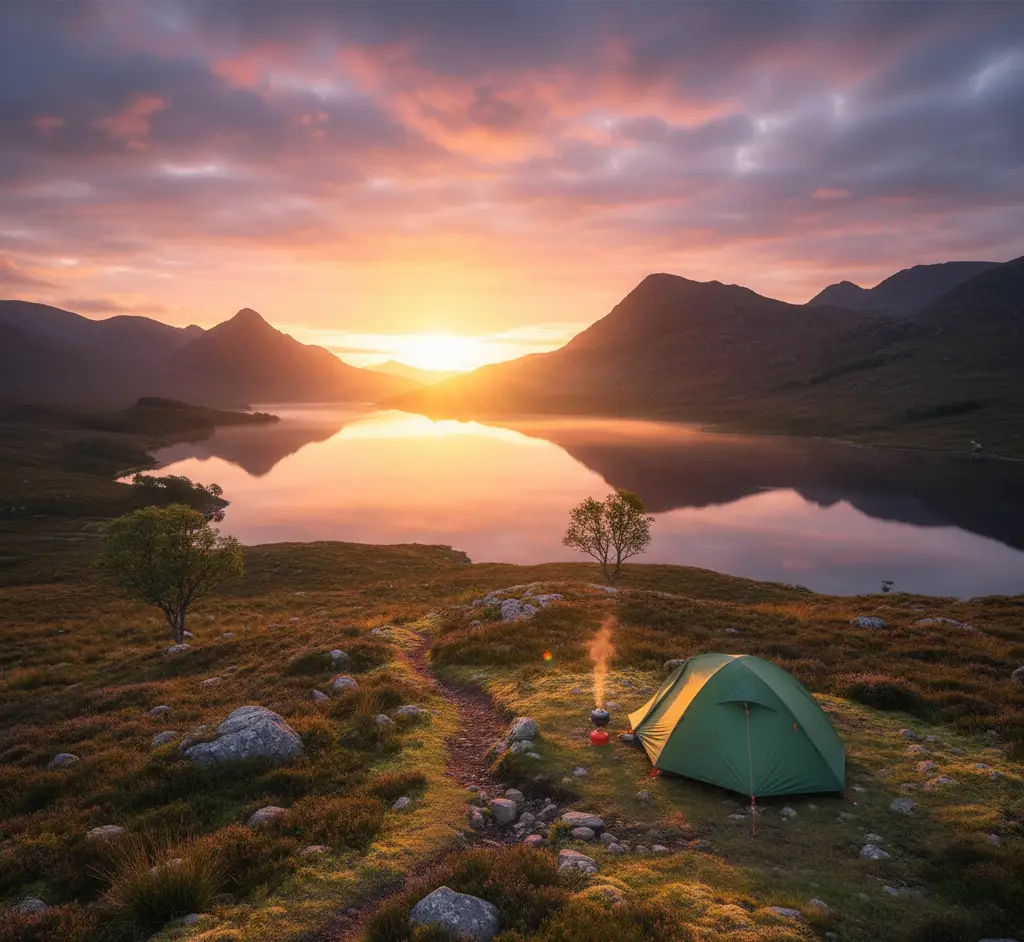
- Include your tent — a small tent in a vast landscape tells the story of your camp.
- Night mode — most modern phones have a night mode that handles low light surprisingly well. Use a stable surface or mini tripod.
- Panoramas — mountain camps with sweeping views work brilliantly as panoramas.
The best camping photo tip is the simplest: get out of your tent at sunrise. The light in those first 20 minutes is often the best you'll see all day, and the effort of crawling out of a warm sleeping bag is always worth it.
Camera Gear for Wild Camping
If you want to step up from phone photography, keep it lightweight:
Camera
- A mirrorless camera is the best balance of quality and weight
- Micro Four Thirds or APS-C sensors offer excellent quality at lower weight than full frame
- Even an older compact camera with manual controls beats a phone for star photography
Lenses
Keep it simple:
- A wide-angle lens (14-24mm equivalent) for landscapes and star photography
- A standard zoom (24-70mm equivalent) as an all-rounder
- Don't carry three lenses — pick one or two maximum
Tripod
Essential for star photography and low-light work. Options:
- Ultralight travel tripod (500-800g) — lightweight carbon fibre tripods work well for photography purposes
- Mini tripod (100-200g) — works with lighter cameras. Place on rocks or walls for elevation.
- Gorilla-style flexible tripod — wraps around rocks and branches. Good for unusual positions.
- No tripod — use rocks, rucksacks, or the ground. Not ideal but workable.
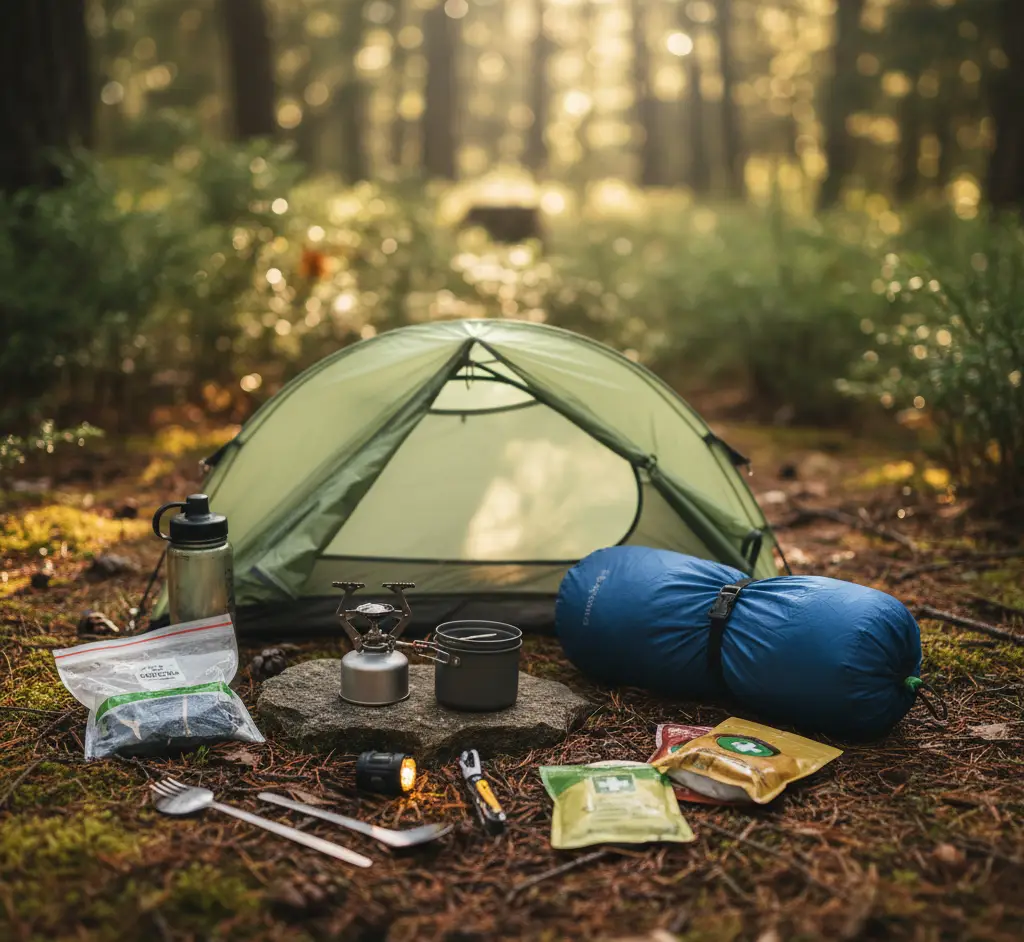
Other Useful Items
- Spare batteries — cold weather drains batteries fast
- Memory cards — bring at least two
- Lens cloth
- A head torch with a red mode (for adjusting settings without ruining your night vision)
Shooting Conditions
Sunrise and Sunset
This is where wild camping photography shines. Tips:
- Be ready early — set up your camera position before the light peaks
- Shoot before and after — the best light often comes 10-20 minutes before sunrise and after sunset
- Include foreground interest — rocks, water, your tent. A sky-only shot is less compelling than sky plus landscape.
- Bracket exposures — if your camera supports it, take multiple exposures for high-contrast scenes
- Look behind you — while everyone photographs the sunset, the light on the landscape behind you can be equally stunning
Star Photography
Wild camping locations away from light pollution offer genuine dark skies. Basic star photography is accessible to anyone with manual camera controls:
- Settings: ISO 1600-3200, aperture as wide as possible (f/2.8 or lower ideal), shutter speed 15-25 seconds (use the 500 rule: 500 divided by focal length = max seconds before star trailing)
- Focus: Manual focus set to infinity. Use live view zoomed in on a bright star to fine-tune.
- Tripod: Essential. Any movement ruins star shots.
- Timer or remote: Use a 2-second timer to avoid camera shake from pressing the shutter.
- Composition: Include landscape elements — mountains, trees, your tent — not just sky.
Star Trails
Long exposures that show the apparent movement of stars across the sky:
- Take multiple 30-second exposures over 30-60 minutes
- Stack them in free software (StarStax or similar)
- Point the camera at Polaris (the North Star) for circular trails
- Include a foreground element for scale
The Milky Way
Visible from UK dark sky locations (Northumberland, Brecon Beacons, Scottish Highlands) between April and September:
- Faces south in UK skies
- Best visibility on moonless nights away from light pollution
- Use the widest, fastest lens you have
- A single exposure at ISO 3200, f/2.8, 20 seconds captures the core
Check the moon phase before planning a star photography camp. A full moon washes out the Milky Way. The best conditions are within a week either side of a new moon.
Weather and Atmosphere
Bad weather creates dramatic photos:
- Mist and cloud inversions — camp above the cloud for extraordinary sunrise shots
- Storm light — breaks in cloud during storms create intense, directional light
- Rain — shoot through rain on a tarp or tent doorway for atmospheric texture
- Frost — frozen tents and landscapes at dawn are beautiful
Composition Tips
- Rule of thirds — place your tent or key feature on a third, not dead centre
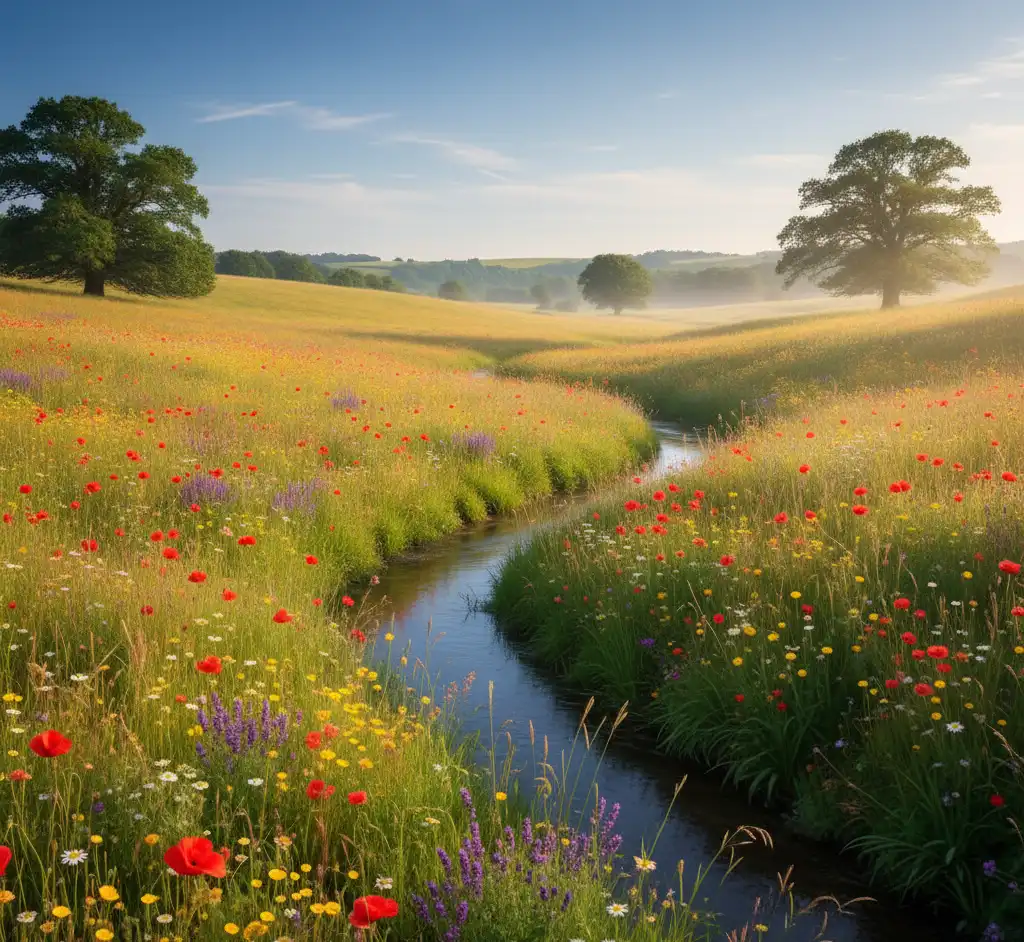
- Leading lines — paths, rivers, ridgelines that draw the eye into the frame
- Scale — include a person, tent, or rucksack to show the scale of the landscape
- Simplicity — the best wild camping photos are often the simplest. Don't overcomplicate.
- Tell a story — a photo of your stove with steam rising and mountains behind tells a better story than a generic landscape
Protecting Your Gear
- Dry bags for camera kit — essential in UK conditions
- Rain sleeve or plastic bag over the camera in rain
- Silica gel packets in your camera bag to absorb moisture
- Don't leave cameras in dew overnight — condensation on lenses is a nightmare
- Cold to warm transitions — bring the camera into your sleeping bag slowly to prevent internal condensation
Ethics
- Don't share exact camping locations — especially if you photographed yourself camping in a tolerated-but-not-legal spot
- Don't light fires for photos — no shot is worth fire damage
- Don't trample vegetation for a better angle
- Don't disturb wildlife for a photo
- Be honest — if it's a campsite, don't present it as a wild camp
Recommended Photography Gear for Wild Camping
These three items give you the biggest upgrade from phone photography without overloading your pack.
Manfrotto PIXI Mini Tripod
Amazon UK190g
1kg
13.5cm
Push-lock
Pros
- +Light enough to always carry
- +Stable enough for phone and compact cameras
- +Doubles as a phone holder with adapter
Cons
- −Low to the ground — needs a rock or wall for elevation
- −Won't support heavy DSLR setups
At 190g, there's no excuse not to carry it. Place it on a rock for star shots or prop it on your rucksack for golden hour timelapses.
View dealAffiliate link — we may earn a small commission at no extra cost to you
Exped Fold Drybag 4L
Amazon UK4 litres
20g
PU-coated nylon
Roll-top
Pros
- +Keeps camera gear dry in any conditions
- +Roll-top seal is reliable
- +Light enough to carry several
Cons
- −Not padded — doesn't protect against impacts
A cheap, lightweight way to keep your camera dry. UK weather and camera gear don't mix — protect your investment.
View dealAffiliate link — we may earn a small commission at no extra cost to you
Joby GorillaPod 1K Kit
Amazon UK197g
1kg
Flexible wrap-around
Included
Pros
- +Wraps around branches and rocks for creative angles
- +Light enough for backpacking
- +Ball head allows precise camera positioning
Cons
- −Not as stable as a conventional tripod in wind
The flexible legs open up angles no conventional tripod can reach. Wrap it around a branch for overhead camp shots or wedge it into rocks for star trails.
View dealAffiliate link — we may earn a small commission at no extra cost to you
The best wild camping photography comes from genuine experience. Get out there, sleep on mountains, wake up at dawn, and the photos will follow.
Ready to gear up?
Use our kit builder to get a complete packout list tailored to your trip type, terrain, and budget — with prices and buy links.
Related reading
Wild Camping & Campsites in the UK — The Complete Guide
Everything you need to know about wild camping in the UK — where it's legal, where it's tolerated, and how to do it responsibly.
Lightweight Camping Guide — Going Ultralight in the UK
How to reduce your camping pack weight without sacrificing comfort or safety — practical ultralight tips for UK wild camping.
Summer Camping Guide for the UK — Tips, Gear and Best Spots
Summer camping in the UK — dealing with midges, heat, crowds, and making the most of the longest days for wild camping June to August.
Best Rucksacks for Hiking and Wild Camping UK 2026
Best rucksacks and backpacks for hiking and camping in the UK 2026. Day packs to multi-day expedition rucksacks compared.